Starvard University · First Aid 101
Save a life before the ambulance arrives. The handful of skills that actually matter in an emergency, taught plainly, for regular people.

The whole course in brief
The twelve lessons
Lesson 1
The average ambulance takes eight to fifteen minutes to arrive. Brain damage from lack of oxygen begins in four to six. That gap is why bystander first aid saves lives: you are the bridge between the emergency and the professionals. Most life-threatening situations are decided in the first few minutes, by whoever happens to be there.
The good news is that effective first aid is simple. You do not need medical training to press on a bleeding wound, to push on a chest, or to keep someone warm and still. The skills in this course are deliberately the short list: the few actions with the biggest life-saving payoff, stripped of everything a regular person will never use.
The biggest obstacle is not knowledge but hesitation. People freeze because they are afraid of doing it wrong. Here is the truth the professionals want you to know: in cardiac arrest, severe bleeding, or choking, doing something imperfectly beats doing nothing perfectly. Action is the skill.
Lesson 2
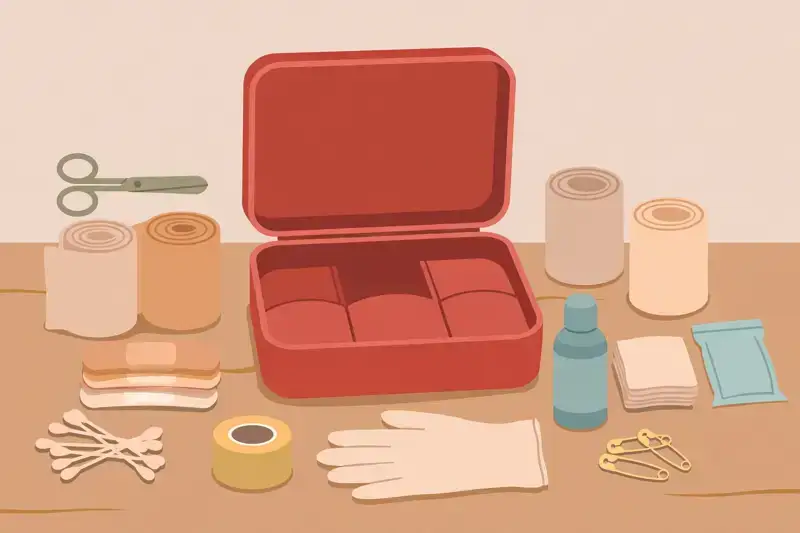
A good first aid kit is small, cheap, and lives where you can grab it: one for the house, one for the car, a tiny one for the trail. Buy a basic commercial kit or build your own around these: adhesive bandages in several sizes, sterile gauze pads and rolls, adhesive tape, antiseptic wipes, antibiotic ointment, tweezers, small scissors, disposable gloves, a CPR face shield, pain relievers, antihistamines, moleskin for blisters, and an elastic wrap bandage.
Add two upgrades that punch above their weight: a tourniquet (learn to use it, it is simple) and an emergency blanket. If anyone in your household has allergies, an epinephrine auto-injector belongs in the kit with a clear label. Check the kit twice a year and replace anything expired or used.
Knowing where the kit is matters as much as owning it. Tell everyone in the house and car its location. In a real emergency, you will not be calmly browsing shelves; the kit needs to be grabbable in ten seconds.
Lesson 3
Before you touch anyone, stop and look. Is traffic still moving through the scene? Is there fire, smoke, a downed power line, an unstable structure, an aggressive dog? A rescuer who becomes a second victim helps no one and doubles the emergency. Your safety is step zero, not selfishness.
Put on gloves if you have them. Blood and body fluids carry real risks, and gloves take three seconds. If the scene is unsafe, your job is to call for help and keep others back, not to charge in. Courage without assessment is just another casualty.
Once the scene is safe, do a quick scan of the person: are they conscious, are they breathing, is there severe bleeding? That thirty-second assessment tells you which emergency you are dealing with and which skill from this course to use first.
Lesson 4
Call emergency services early, before you start treatment if possible. In most places that is 911; know the local number when you travel. If other people are around, point at one specific person and say "You, call 911 and report back to me." Delegating to a specific human beats shouting "somebody call 911" into a crowd, which produces the bystander effect and no call at all.
Give the dispatcher: your exact location (address, landmarks, mile marker), what happened, how many people are hurt, and what you are doing. Stay on the line if they ask. Dispatchers can talk you through CPR and choking in real time; you are never truly alone on that call.
If you are alone with the victim, the rule depends on the emergency. For an adult who collapses suddenly, call first, then start CPR. For a drowning or a child, give about two minutes of care first if no one else can call. When in doubt, get help coming as fast as possible.
Lesson 5
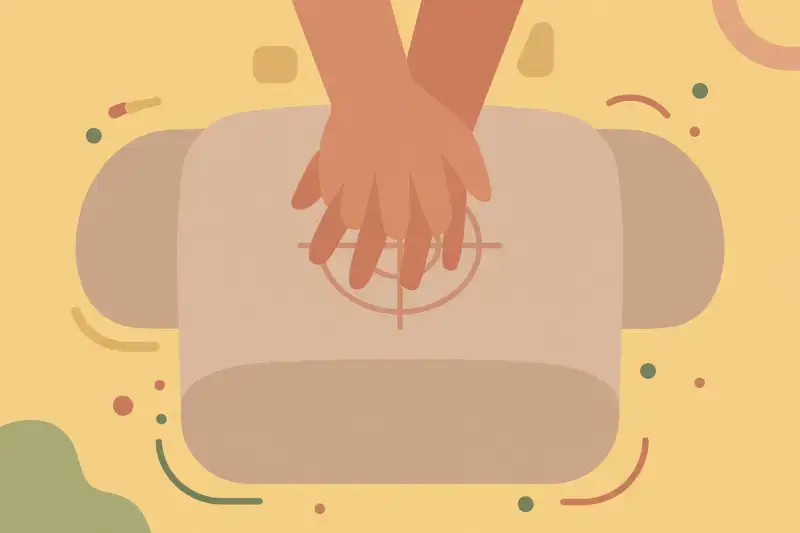
If an adult collapses, is unresponsive, and is not breathing normally, start hands-only CPR immediately. Place the heel of one hand in the center of the chest, the other hand on top, and push hard and fast: two inches deep, 100 to 120 compressions per minute. Think of the beat of "Stayin' Alive." Do not stop until professionals take over or the person starts moving.
Forget what movies taught you about gentle chest pats. Effective compressions are vigorous and tiring, and ribs sometimes crack. That is acceptable; a cracked rib heals, a stopped heart does not. If you get tired, ask a bystander to take over, switching with minimal pause.
If an AED (automated external defibrillator) is nearby, send someone to get it. These devices are in airports, gyms, schools, and offices, and they talk you through every step with voice prompts. You cannot shock someone who does not need it; the machine decides. Using an AED within the first few minutes can double or triple survival.
Lesson 6
A choking person who can cough forcefully or speak should be encouraged to keep coughing; the body is handling it. The emergency is the silent one: someone clutching their throat, unable to cough, speak, or breathe, face turning red then blue. Act immediately.
Stand behind them, wrap your arms around their waist, make a fist just above the navel, grasp it with your other hand, and thrust sharply inward and upward. Repeat until the object flies out or the person becomes limp. For a pregnant person or someone you cannot wrap your arms around, do chest thrusts instead, same motion on the breastbone.
If the person goes limp, lower them to the ground and start CPR, checking the mouth for the object before breaths if you are trained in rescue breaths. Call emergency services at the start of all of this, not the end. Choking kills in minutes; speed is everything.
Lesson 7
Severe bleeding kills faster than almost anything else, and the treatment is beautifully simple: press hard directly on the wound with gauze, cloth, or your gloved hand, and do not let go. Maintain firm pressure for at least ten minutes without peeking. Peeking restarts the clock.
If blood soaks through, add more material on top; never remove the first layer. For a limb wound that will not stop with pressure, apply a tourniquet two to three inches above the wound (never on a joint), tighten until the bleeding stops, and note the time. Tourniquets hurt and they save lives; do not loosen it once applied.
While controlling bleeding, keep the person lying down and warm, and watch for shock: pale, clammy skin, rapid breathing, confusion. Shock is the body's systems failing from blood loss; the treatment is the same, stop the bleeding and get professionals coming fast.
Lesson 8
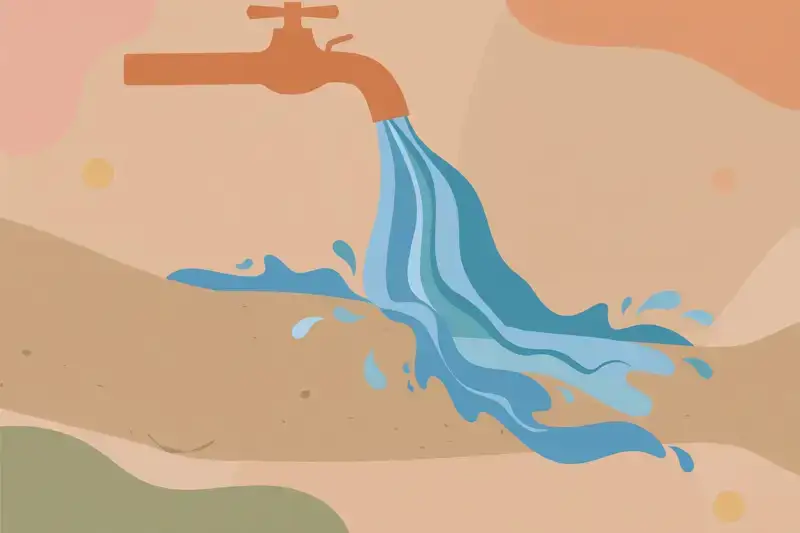
For thermal burns, the treatment is cool running water for at least twenty minutes, as soon as possible. This single step reduces tissue damage more than anything else you can do. Then cover loosely with cling film or a clean non-fluffy cloth. Never apply ice, butter, oils, or toothpaste; they trap heat or introduce infection.
Leave blisters intact; they are nature's sterile bandage. If one bursts on its own, clean it gently and cover it. Seek medical care for burns larger than the person's palm, burns on the face, hands, feet, or joints, any electrical or chemical burn, or any burn that looks white, charred, or deeply blistered.
Chemical burns need the chemical flushed with lots of water and the container identified for responders. Electrical burns can hide deep tissue damage; always get them checked even if the surface looks minor.
Lesson 9
For sprains, remember RICE in its modern form: rest the joint, ice it for fifteen minutes at a time, compress lightly with an elastic bandage, and elevate above the heart. Most mild sprains improve in days. If the person cannot bear weight, heard a pop, or the joint looks deformed, treat it as a fracture.
For suspected fractures, immobilize the area as found; do not straighten a deformed limb. Splint it with whatever is rigid, a magazine, a stick, a rolled towel, securing above and below the break. Check circulation beyond the splint: fingers or toes should stay warm and pink.
Head, neck, and back injuries get special handling: keep the person completely still in the position you found them, stabilize the head, and wait for professionals. Do not remove a helmet after a crash unless the person is not breathing and you must start CPR. Movement is the enemy of spine injuries.
Lesson 10
Anaphylaxis is the severe allergic reaction that closes airways and drops blood pressure, and it can kill in minutes. Signs: swelling of lips, tongue, or throat, difficulty breathing, hives spreading fast, dizziness or collapse, often after a sting, food, or medication. If someone carries an epinephrine auto-injector, help them use it or use it for them: press firmly into the outer thigh, hold ten seconds, through clothing if needed.
Epinephrine buys time; it is not the cure. Always call emergency services for anaphylaxis, even if the person feels better after the injection. A second wave can hit hours later. Keep the person lying down with legs raised unless breathing is difficult, in which case let them sit up.
For fainting, the treatment is simple: lay the person flat, elevate the legs, loosen tight clothing, and give them air. Most faints resolve in a minute. If someone faints repeatedly, has chest pain, or does not wake quickly, that is an emergency call.
Lesson 11
Heat exhaustion looks like heavy sweating, weakness, headache, and nausea; move the person to shade, cool them with water and fanning, and give small sips of water. Heat stroke is the emergency version: hot dry skin, confusion, collapse. Cool aggressively with any means available and call for help immediately.
Hypothermia sneaks up: shivering, then clumsiness, then confusion and drowsiness as the core temperature drops. Get the person out of wind and wet clothes, insulate them from the ground, warm the core (armpits, neck, groin) with body heat or warm bottles, and handle them gently. Frostbite means white, waxy, numb skin; do not rub it, warm it gradually, and get medical care.
For bites and stings, remove stingers by scraping, clean the wound, and watch for allergic reaction signs. Snake bites: keep the person calm and still, immobilize the limb at heart level, and get to a hospital. Do not cut, suck, or tourniquet. Pressure immobilization bandages are for elapid snakes in some regions; otherwise, stillness and speed are the treatment.
Lesson 12
Reading about CPR is like reading about swimming. This course gave you the concepts; now put your hands on a dummy. A basic CPR and first aid certification takes one day, costs little, and is offered by the Red Cross, the American Heart Association, and countless local providers. Many employers will pay for it.
In class you will practice compressions until the rhythm lives in your muscles, handle a training AED, and run through choking and bleeding scenarios. That muscle memory is what shows up when your thinking brain freezes. Recertify every two years; skills fade faster than you expect.
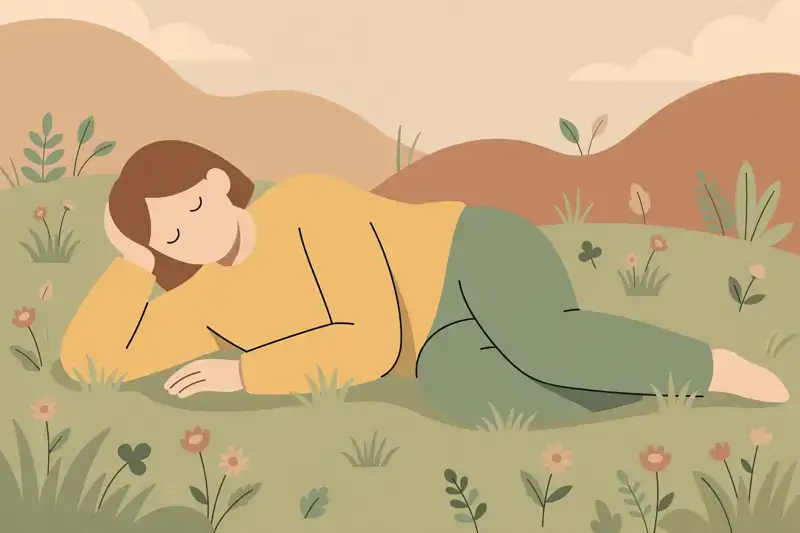
Then spread it. Teach your family the recovery position and where the kit lives. Show your kids how to call emergency services. A household where everyone knows the basics is a meaningfully safer household, and you might be the reason someone's worst day has a good ending.
Graduation
You now know what to do in the emergencies that actually happen: call for help, push on the chest, press on the wound, cool the burn, keep the spine still, and use the kit you built. The certificate is worth getting, but the mindset is the real graduation. When something goes wrong near you, you will not freeze. You will act.
Keep learning
This course is part of Starvard University, striving for greatness.